

ARC Raiders Co-Op Guide: How to Group Up with Friends and Get Topsides Fast
ARC Raiders isn’t exactly the most accessible game out there. Don’t get me wrong—I’m having a great time—but if you’re like me, sometimes the simplest things can feel a bit confusing to figure out. Worry no longer, dear Raiders! I’ve put together the perfect guide to help you group up with your friends and get topside ASAP.
Complete the Mandatory Solo Tutorial First
Before you can play with friends or join a squad, you’ll need to complete the game’s mandatory solo tutorial section at the start. Make sure you finish this introductory sequence before attempting anything involving co-op or multiplayer gameplay.
Opening the Party Squad Menu and Inviting Friends
Once you’ve finished the solo intro, you’ll be able to start a new run at your leisure. You can go solo, team up with random players, or jump into a co-op round with your friends.
To invite friends, navigate to the “Play” tab at the top of the screen. Then, hit the plus sign (+) button located just above the “Play” button in the lower-right corner. This opens the party menu.
From here, any players on your system’s friend list who are also playing ARC Raiders will appear automatically. For example, if you’re on PlayStation, any PSN friends playing ARC will be listed here for easy inviting.
Select the friend you want to add to your squad and click “Invite To Party.” That’s it—just like that, you’re ready to play together!
Adding Friends to Your List
If your friend doesn’t appear automatically—say, if they’re on a different platform like Xbox or Steam while you’re on PS5—you’ll need to add them manually.
On PS5, simply hold the Triangle button to add a friend (use your console’s equivalent button if you’re on a different system). A prompt will appear on screen showing the correct button to press.
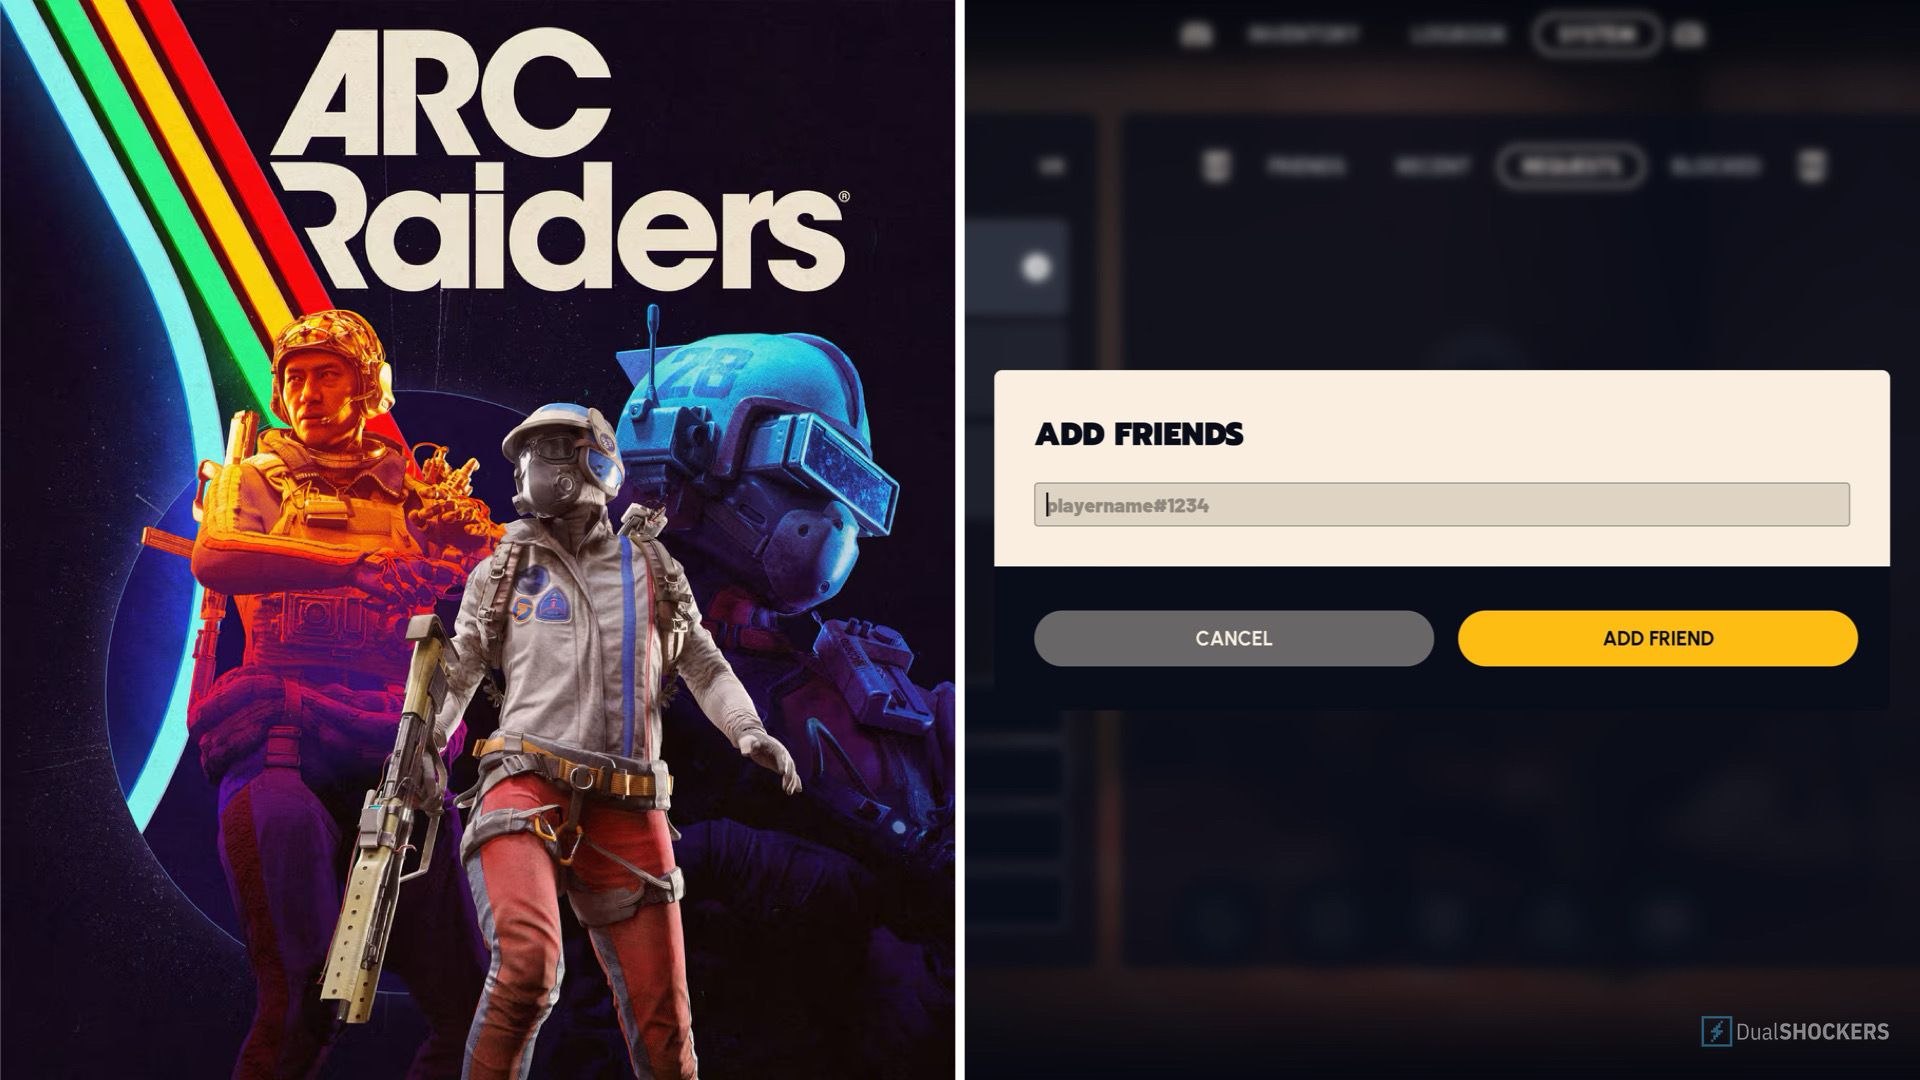
Next, communicate with your friend outside of the game and get their Embark username. Type it into the add friend box and click “Add Friend.” Make sure you also get the hashtag and four digits that come after their username—that’s required to send the invite.
Another handy tip: check the “Recent” tab to find players you’ve come across naturally in a run who aren’t on your friend list yet. If you had a good time with a random player, you can add them this way.
Also, remember to look at your “Requests” tab periodically—to see if anyone has sent you an add request.
Sharing Your Embark Username
Sometimes, you’ll need to share your own Embark username with friends so they can add you. On the party screen, your username will be displayed as Username#XXXX, but the four digits at the end are hidden by default.
To reveal the full username, click on your name, then select “Show Discriminator.” This will display your username with the full four-digit number (e.g., Username#1234).
Send your friend your exact Embark username including the hashtag and digits, and they’ll be able to add you easily.
Crossplay Settings
If you’re having trouble adding friends on other consoles, your crossplay settings may need adjustment.
From the party menu, select “Settings,” then navigate to the “Online” section. Look for the “Crossplay” option and make sure it’s toggled “On.”
This ensures you can play with anyone, regardless of the platform they are on.
Launching a Game with Your Squad
Once everyone is added, invited, and accepts the party invite, you can back out of the party menu and hit “Play” to start a new run with your squad.
If you’re playing with just one friend and don’t want to be matched with a random third player, make sure to toggle “Fill Squad” to Off—the option appears just above the “Play” button.
If you want to fill your squad to three by adding a random player, simply switch “Fill Squad” to On.
Select your desired map, and you and your friends will be on your way to gathering all the loot you can manage!
Good luck, Raiders! Now get out there and dominate those runs together.
https://www.dualshockers.com/arc-raiders-how-to-play-with-friends/